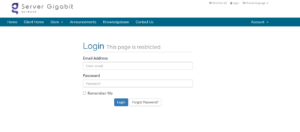
1. Log in to your VPS Provider Control Panel
-
-
Open your browser and log in using your account credentials.
-
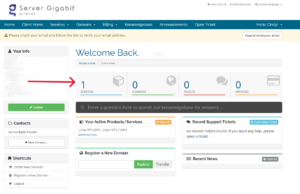
2. Click on the ‘Services’ icon
3. Click on your product
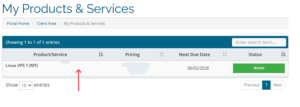
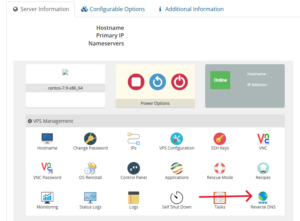
4. Scroll down until Server Information part, click on Reverse DNS
3. Select the VPS IP Address
-
-
If your VPS has multiple IPs, pick the one you want to configure.
-
4. Enter the IP Address and Domain Name
-
-
Type your fully qualified domain name (FQDN), for example:
-
Make sure the hostname matches your A record for the IP.
-
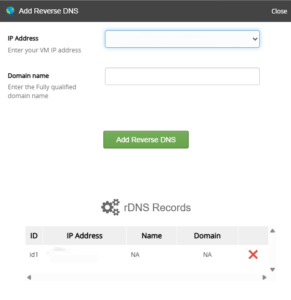
5. Click on Add Reverse DNS
6. “Successful” notification pop out.
