Object Storage with Cyberduck: Cyberduck, a versatile open-source file transfer client, has gained prominence as a powerful tool for accessing and managing object storage services. Its compatibility with various protocols, including S3-compatible object storage, makes it a valuable asset for individuals and organizations alike.
Prerequisites for Object Storage Access
Before embarking on your Cyberduck journey, ensure that you have the following prerequisites in place:
-
Cyberduck Installation: Download and install Cyberduck on your local machine. You can obtain the latest version from the official Cyberduck website.
-
Object Storage Credentials: Gather your object storage credentials, including your Access Key, Secret Key, and S3 URL. These credentials are typically provided by your object storage provider.
Linking Your Object Storage with Cyberduck
-
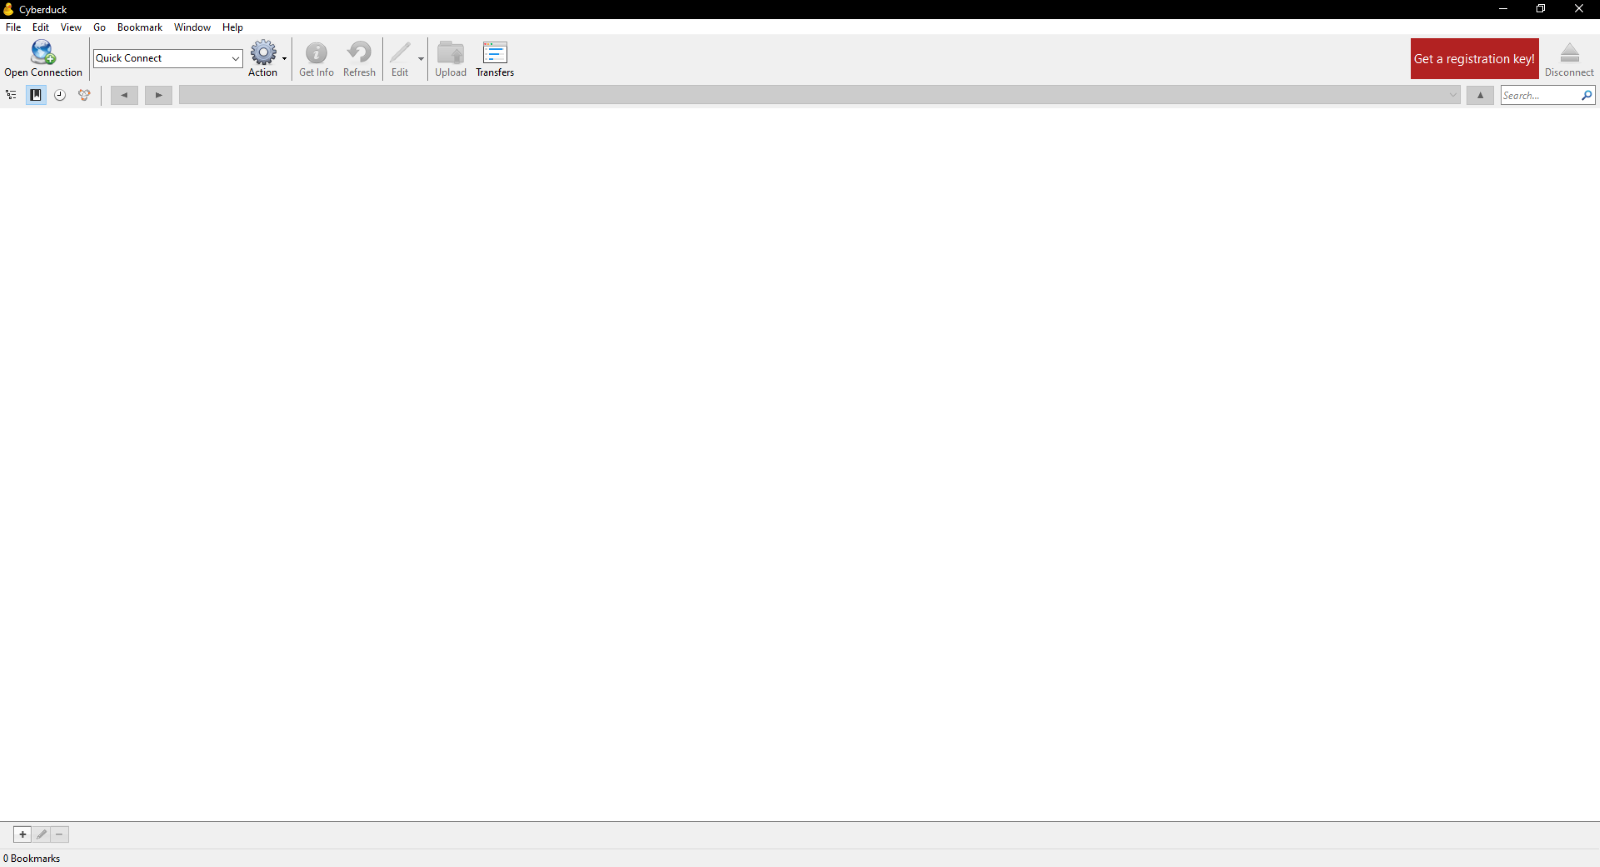
Launching Cyberduck: Upon launching Cyberduck for the first time, you’ll notice a minimalist interface with a few options at the top and a blank space in the middle.
-
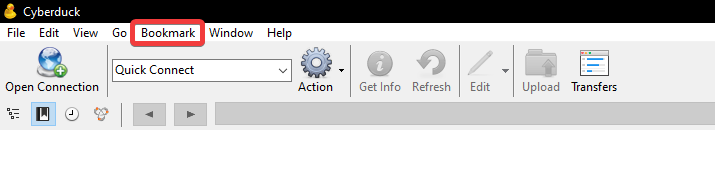
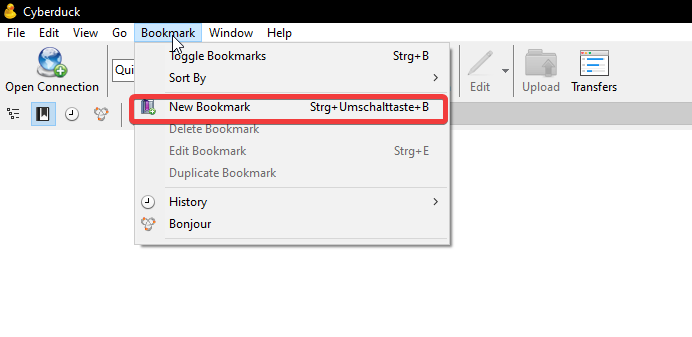
Creating a Bookmark: To add your object storage to Cyberduck’s bookmarks, click on “Bookmark” in the top bar and select “New Bookmark” from the dropdown menu.
-
Configuring the Bookmark: In the New Bookmark window, follow these steps:
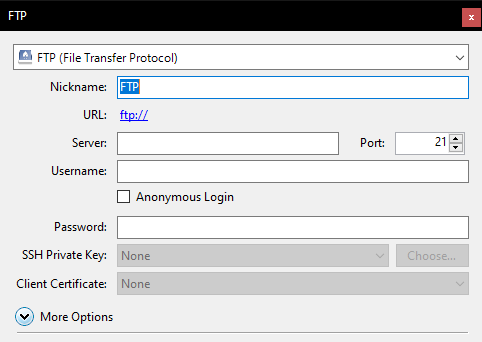
a. Protocol Selection: Choose “Amazon S3” from the protocol dropdown menu.
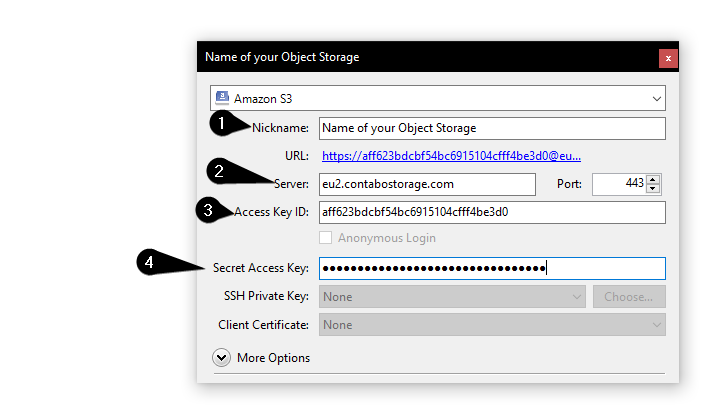
b. Nickname: Assign a unique nickname to your object storage bookmark for easy identification.
c. S3 URL: Enter the S3 URL of your object storage without the “https://” prefix. Ensure the port is set to “443”.
d. Access Key: Input your object storage’s Access Key, which resembles a username.
e. Secret Key: Provide your object storage’s Secret Key, similar to a password.
-
Saving the Bookmark: There’s no explicit “Save” or “Continue” button. The bookmark is automatically saved upon closing the configuration window.
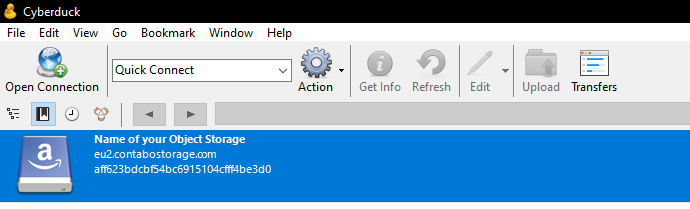
Connecting to Your Object Storage
-
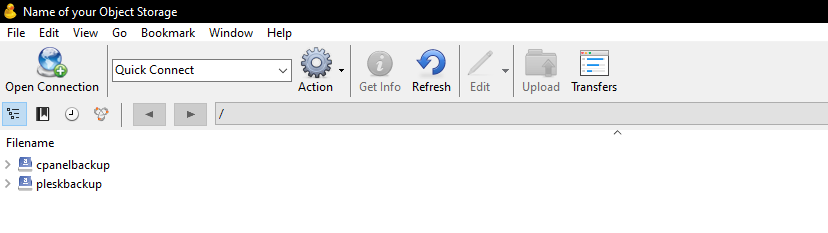
Locating the Bookmark: Once the bookmark is saved, it will appear on Cyberduck’s home screen.
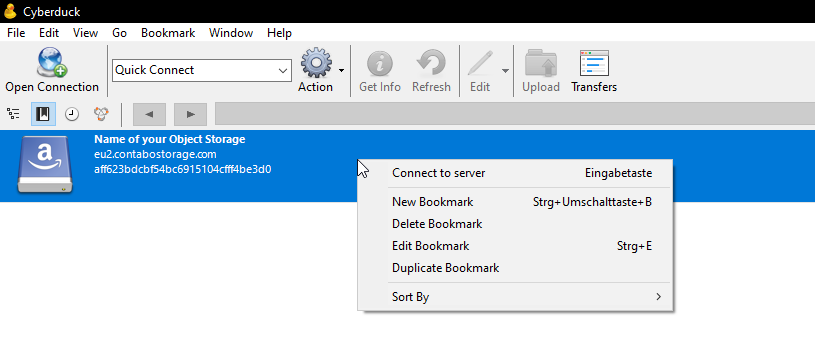
-
Initiating Connection: Right-click on the object storage bookmark and select “Connect to Server” to establish a connection.
-
Verifying Credentials: If the provided credentials are correct, Cyberduck will connect to your object storage, allowing you to manage its contents.
Cyberduck’s Object Storage Management Features
Cyberduck offers a range of capabilities for managing your object storage:
-
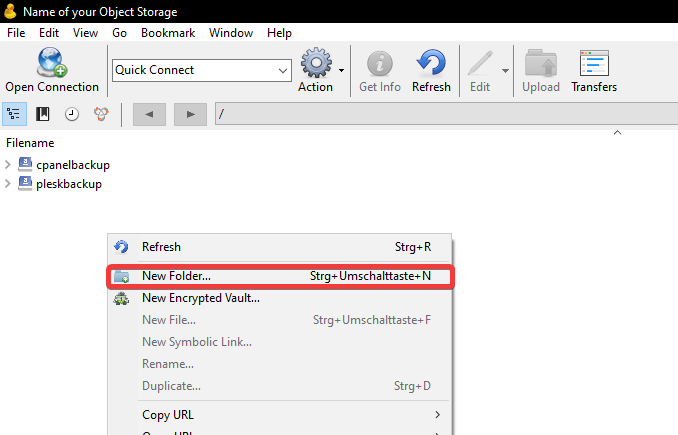
Bucket Creation: Right-click in an empty space and choose “New folder” or use the shortcut [CTRL]+[Shift]+[N] to create a new bucket.
-
Bucket Deletion: Right-click on the bucket you want to delete and select “Delete” to remove it.
-
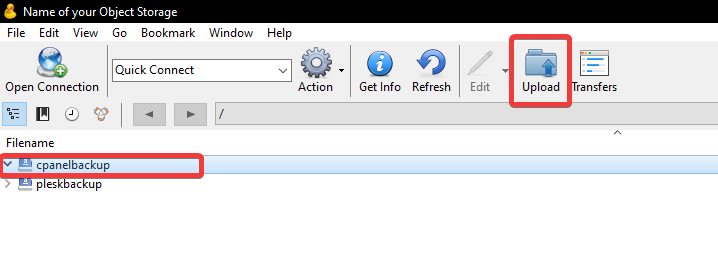
Data Uploading: Select the bucket where you want to upload data, click “Upload” in the top bar (or use [Alt]+[ArrowKeyUp]), and choose the file(s) you wish to upload.
-
Data Downloading: Select the file(s) you want to download, right-click, and choose “Download” or use the shortcut [Alt]+[ArrowKeyDown].
Conclusion
Cyberduck, with its intuitive interface and comprehensive feature set, serves as a valuable tool for interacting with object storage services. By following the outlined steps, users can effortlessly link their object storage to Cyberduck, establish a connection, and perform various management tasks, including creating and deleting buckets, uploading and downloading data. Cyberduck’s versatility makes it an ideal choice for individuals and organizations seeking a reliable and user-friendly object storage management solution.