In the realm of web hosting, Virtual Private Servers (VPS) have emerged as a popular choice for businesses and individuals seeking a scalable and cost-effective hosting solution. Server Gigabit, a leading provider of VPS hosting services, offers a wide range of plans to cater to diverse needs and budgets. This comprehensive guide will walk you through the process of purchasing VPS at Server Gigabit, ensuring a smooth and hassle-free experience.
Step 1: Accessing the Server Gigabit Website
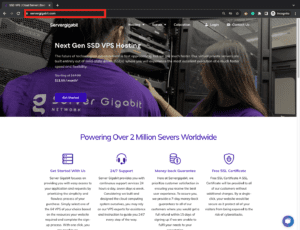
- Launch your web browser and navigate to the Server Gigabit website at https://www.servergigabit.com.
Step 2: Choosing the Right VPS Hosting Plan
-
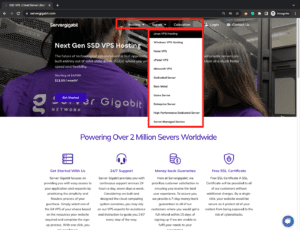
Upon reaching the Server Gigabit homepage, locate the products at the top of the page. Hover your mouse over the “Server” tab and select “Linux VPS Hosting” from the dropdown menu.
-
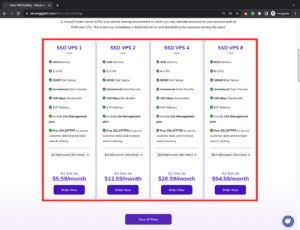
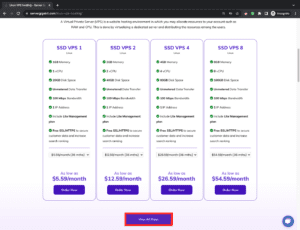
On the “Linux VPS Hosting” page, you will be presented with a variety of VPS hosting plans. Each plan is tailored to specific requirements and budgets, ranging from $5.59 per month to $54.59 per month.
-
Carefully review the specifications of each plan, including CPU, memory, disk space, bandwidth, and IP addresses. Consider your current and projected website traffic and resource requirements when making your selection.
-
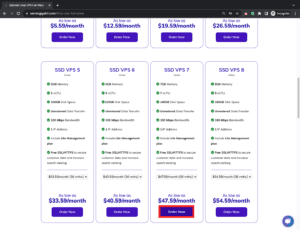
If you require more options than the four displayed plans, click on the “View All Plans” button to explore a wider range of options.
Step 3: Selecting the Suitable Plan and Proceeding to Order
-
Once you have identified the most suitable plan for your needs, click on the “Order Now” button of the chosen plan.
-
This will redirect you to a new page where you can customize your plan further. Here, you can select your preferred billing cycle, which determines the frequency of your payments.
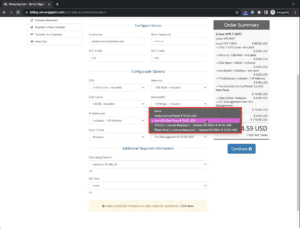
Step 4: Configuring Server Settings
-
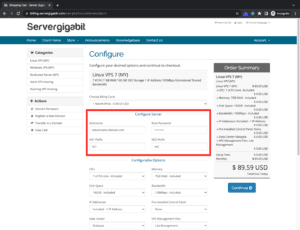
Scroll down to the “Configure Server” section. This section allows you to personalize your VPS hosting experience by providing essential server information.
-
Enter a desired hostname for your server. This hostname will be used to identify your server on the network.
-
Create a strong root password for your server. This password will grant you administrative access to your VPS.
-
Provide NS1 and NS2 prefixes for your domain name. These prefixes are used to configure your domain name’s DNS settings.
Step 5: Customizing Additional Options
-
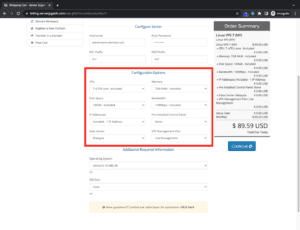
Under the “Configurable Options” section, you can choose a management plan for your VPS. Management plans provide assistance with server administration tasks.
-
Additionally, you can opt for a pre-installed control panel, such as cPanel or Plesk, to simplify server management.
-
Note that CPU, memory, disk space, bandwidth, IP address, and data center are predetermined by the selected plan and cannot be customized.
-
If you require different specifications for these resources, you may need to choose a different plan.
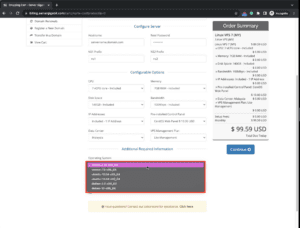
Step 6: Selecting the Operating System
-
In the “Additional Required Information” section, choose your preferred operating system for your VPS. Server Gigabit offers CentOS, Ubuntu, and Debian as options for Linux VPS hosting.
-
Once you have selected your operating system, click on the “Continue” button located below the order summary.

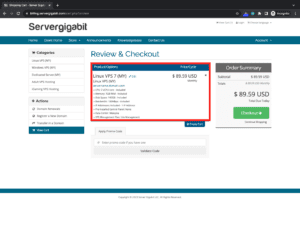
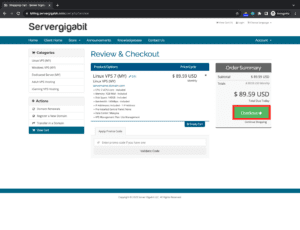
Step 7: Reviewing and Completing Your Order
-
Carefully review your order summary to ensure all details are correct.
-
If you have any additional requests or concerns, you can contact Server Gigabit’s customer support team for assistance.
-
Click on the “Checkout” button to proceed to the payment gateway.
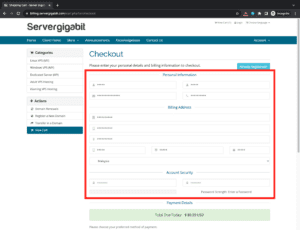
Step 8: Providing Personal and Billing Information
-
Enter your personal details, including your name, address, and contact information.
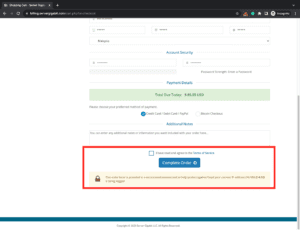
-
Choose your preferred billing method from the available options: credit card, debit card, PayPal, or Bitcoin.

-
Review the terms of service and agree to them before proceeding. Click on the “Complete Order” button to finalize your purchase.
Step 9: Making Payment and Receiving Confirmation
-
You will be redirected to the payment gateway to process your payment securely.
-
Upon successful payment, you will receive a confirmation email from Server Gigabit.
-
The confirmation email will contain your invoice, product information, and server details, including your server IP address and control panel login credentials.
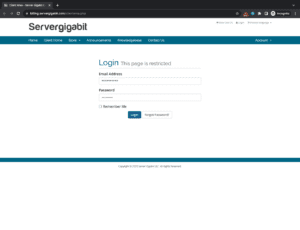
Step 10: Accessing Your VPS Control Panel
-
Use the login credentials provided in the confirmation email to access your VPS control panel.
-
From the control panel, you can manage your server settings, install applications, monitor resource usage, and much more.
Congratulations! You have successfully purchasing VPS at Server Gigabit and gained control over your own virtual server. With your newfound flexibility and scalability, you can now create a powerful hosting environment tailored to your specific needs.
Server Gigabit offers a user-friendly and affordable VPS hosting solution, making it an excellent choice for individuals and businesses seeking to enhance their online presence. By following this comprehensive guide, you have effortlessly navigated the purchasing process and are now ready to embark on your VPS hosting journey. As you explore the vast possibilities of your VPS, remember that Server Gigabit’s customer support team is always available to assist you with any questions or concerns.