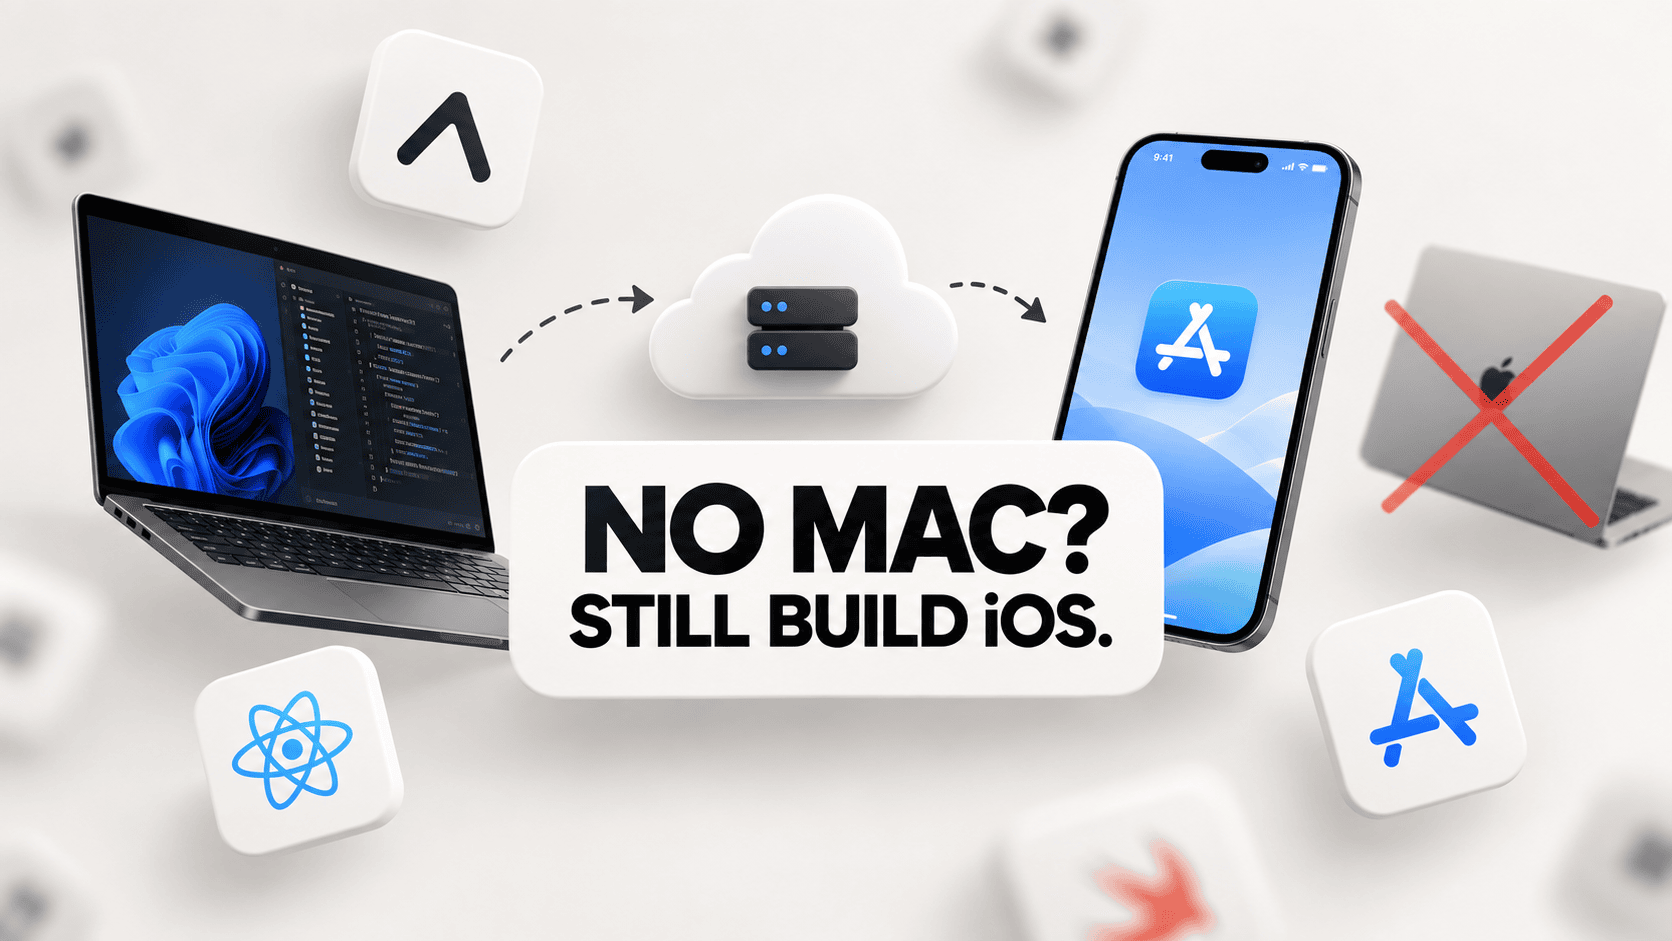
 Developing an iPhone application does not always require purchasing an expensive computer. Remote Mac services provide access to macOS and Apple development tools through an internet connection. This option is useful for freelancers, students, startups, and businesses with limited hardware budgets. iOS Apps Remotely can be developed through a hosted Mac environment without purchasing a physical Mac.
A remote development setup allows access to Xcode, project files, testing tools, and code signing features. The process requires a suitable remote Mac, a stable internet connection, and the correct Apple developer account. Understanding each step can make remote development easier to manage.
Why iOS Development Requires a Mac
Apple provides Xcode as its main development environment for building iPhone and iPad applications. Xcode includes tools for writing code, designing interfaces, testing features, and preparing applications for distribution. The software also provides an iOS simulator for checking application behavior.
Xcode requires macOS. A Windows or Linux computer cannot run the standard macOS version of Xcode directly. Developers working on other operating systems therefore need access to a compatible Mac environment for important development tasks.
Remote Mac services offer a practical solution. Developers can connect to a hosted Mac from another computer and use the required development tools through remote access. This setup makes iOS Apps Remotely possible without the initial cost of purchasing Apple hardware.
Choose a Suitable Remote Mac Service
Selecting the right provider is an important first step. Available options include dedicated Mac rentals, cloud-hosted Mac environments, and managed build services. Each option offers different levels of access and control.
A dedicated remote Mac is useful for projects that require regular access to Xcode and a complete macOS desktop. A managed build service may suit projects that mainly require automated compilation and testing.
Before selecting a provider, check the available macOS version, processor performance, memory, storage, and connection method. Confirm that the environment supports the required Xcode version. Compatibility is important because an older system may not support the latest development tools.
The guide on how to choose and rent a Mac offers a useful starting point for comparing rental options. A suitable service helps developers manage iOS Apps Remotely according to project requirements and available budgets.
Set Up Xcode on the Remote Mac
After obtaining access to a remote Mac, connect through the provider’s supported remote desktop method. Check the connection quality before installing software or transferring project files.
Install a compatible version of Xcode from an official Apple source. Open the application and complete any required setup. Confirm that the necessary iOS simulator components are available.
Next, transfer the application project securely or retrieve it from a trusted Git repository. Check the project structure, dependencies, and deployment target before starting a build. Keep project files organized to make future updates easier.
Storage capacity also matters. Xcode and its supporting components can require considerable disk space. Sufficient storage helps prevent installation failures and interrupted builds. With the correct setup, iOS Apps Remotely can be prepared and maintained through a hosted development environment.
A properly configured remote Mac provides a reliable environment for developing iOS Apps Remotely without investing in physical Mac hardware.
Build and Test the Application
Open the project or workspace in Xcode. Select the correct application target and review the build settings. Check the bundle identifier, deployment target, and required dependencies.
Choose an appropriate iPhone simulator and start the build process. Xcode compiles the project and reports errors that require attention. Resolve missing dependencies, incompatible settings, and coding problems before running another build.
Simulator testing helps identify layout issues, navigation errors, and unexpected application behavior. Testing different simulator models can also reveal problems across screen sizes.
However, a simulator cannot fully replace a physical iPhone. Features involving cameras, device hardware, push notifications, or certain permissions may require additional testing. Remote development provides a practical way to create and test iOS Apps Remotely before preparing a release.
Using a reliable remote Mac environment makes iOS Apps Remotely easier to build, test, and prepare for distribution. A stable connection also helps reduce interruptions during development and allows project files to remain accessible through the hosted environment.
Developers can manage iOS Apps Remotely more efficiently by checking build errors early and testing important features before moving to code signing. This process helps identify problems before the application is prepared for distribution.
Configure Certificates and Code Signing
Code signing is an essential step in preparing an iOS application for installation and distribution. Apple uses signing certificates and provisioning profiles to verify the developer identity and authorize specific application activities.
In Xcode, open the Signing & Capabilities section for the application target. Select the correct development team and confirm that the bundle identifier matches the project configuration. Automatic signing can simplify certificate and provisioning profile management when the Apple account has the required permissions.
Some distribution activities require an Apple Developer Program membership. The appropriate account access and signing configuration must be available before preparing a release.
Security is especially important when using rented hardware. Protect signing certificates, private keys, passwords, and provisioning files. Avoid saving sensitive credentials in shared folders. Remove personal account access when the remote session or rental period ends.
Correct signing settings help prepare iOS Apps Remotely for authorized testing and distribution while reducing avoidable submission problems.
Archive and Distribute the Application
After successful testing and signing, create an archive through Xcode. Select the distribution method that matches the project requirements. TestFlight can support beta testing when the required account and application settings are in place.
For an App Store release, review the application details in App Store Connect. Check the version number, privacy information, permissions, screenshots, and other submission requirements. Upload the build and complete the necessary review process.
Maintain backups of important source files, build records, and release information. Some remote services may reset storage after a session or rental contract ends. A separate backup reduces the risk of losing important project data.
A clear release process makes iOS Apps Remotely easier to maintain across updates. It also helps developers prepare future versions without rebuilding the entire development environment from the beginning.
Benefits of Developing iOS Apps Remotely
Developing iOS Apps Remotely gives developers access to Apple’s development tools without purchasing a physical Mac. This approach can reduce the initial cost of setting up an iOS development environment. It is especially useful for students, freelancers, and small businesses working with limited budgets.
Remote Mac services also provide flexibility when managing different development projects. Developers can access Xcode through a supported remote connection and keep project files within the hosted environment. The available hardware resources depend on the selected service and rental plan.
Another benefit of building iOS Apps Remotely is the ability to use a dedicated Mac environment when required. This arrangement can support application development, testing, and code signing without requiring a separate Mac at home or in the office.
However, a stable internet connection is important for smooth access. Developers should also review storage limits, security features, and service costs before selecting a provider. Choosing a suitable remote environment helps make iOS Apps Remotely more practical for long-term development projects.
Keep Remote Development Secure and Efficient
Remote development requires careful management of project access and confidential information. Use strong authentication and limit access to authorized project members. Store source code in a trusted repository and maintain regular backups.
Review the provider’s privacy policy, security controls, and data retention terms before transferring sensitive files. Check system resources before starting large builds. Limited memory or storage can slow compilation and interrupt development work.
For automated workflows, Apple’s Xcode Cloud provides services for building, testing, and distributing applications through supported development processes. Dedicated remote Mac access remains useful when direct control over a macOS desktop is necessary.
Further details about hosted Mac infrastructure and development environments are available from servergigabit.
A suitable environment allows iOS Apps Remotely to be developed with greater flexibility while keeping project files and developer credentials properly managed.
Conclusion
Remote Mac services offer a practical way to develop and sign iOS applications without purchasing a physical Mac. The process involves choosing a suitable provider, setting up Xcode, preparing the project, testing the application, configuring code signing, and creating a distribution-ready build.
iOS Apps Remotely provides a useful approach for developers who need access to Apple’s development tools while managing hardware costs. With reliable remote access, secure project storage, and the correct signing configuration, remote development can support individual projects and professional application development.