How to Install WordPress on a VPS
Installing WordPress on a VPS gives you full control over your website, better performance, and higher scalability compared to shared hosting. However, it also requires some basic server setup knowledge.
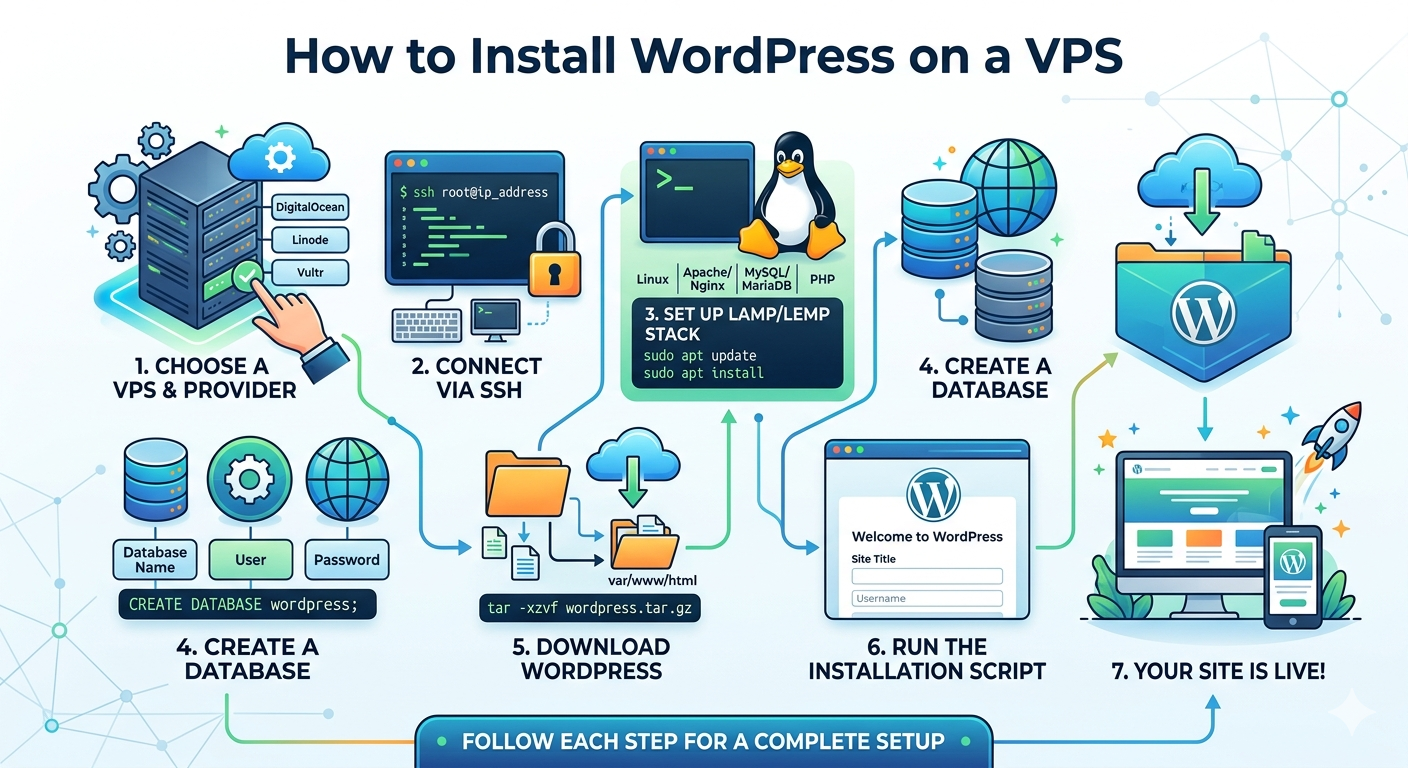
This guide will walk you step by step through installing WordPress on a VPS in a simple and beginner-friendly way.
1. What You Need Before Starting
Before installing WordPress on your VPS, make sure you have:
- A VPS server (Ubuntu Linux is recommended)
- SSH access (root or sudo user)
- A domain name
- Basic server setup (LAMP or LEMP stack installed)
LAMP vs LEMP:
- LAMP = Linux + Apache + MySQL + PHP
- LEMP = Linux + Nginx + MySQL + PHP
Both work fine for WordPress.
2. Connect to Your VPS via SSH
First, connect to your server using SSH:
ssh root@your-server-ipAfter login, update your system:
sudo apt update && sudo apt upgrade -y3. Install Web Server (Apache or Nginx)
Option A: Apache
sudo apt install apache2 -yOption B: Nginx
sudo apt install nginx -yAfter installation, check by opening your server IP in a browser.
4. Install MySQL Database
WordPress needs a database to store website data.
Install MySQL:
sudo apt install mysql-server -ySecure MySQL setup:
sudo mysql_secure_installation5. Create WordPress Database
Login to MySQL:
sudo mysqlThen run the following commands:
CREATE DATABASE wordpress;
CREATE USER 'wpuser'@'localhost' IDENTIFIED BY 'password123';
GRANT ALL PRIVILEGES ON wordpress.* TO 'wpuser'@'localhost';
FLUSH PRIVILEGES;
EXIT;
6. Install PHP and Required Extensions
Install PHP and dependencies:
sudo apt install php php-mysql php-curl php-gd php-xml php-mbstring -yRestart your web server:
sudo systemctl restart apache2(or restart nginx if using Nginx)
7. Download WordPress
Go to your web directory:
cd /var/www/htmlDownload WordPress:
sudo wget https://wordpress.org/latest.tar.gz
sudo tar -xvzf latest.tar.gz
sudo mv wordpress/* .
sudo rm -rf wordpress latest.tar.gz
8. Set File Permissions
Set correct permissions:
sudo chown -R www-data:www-data /var/www/html
sudo chmod -R 755 /var/www/html
9. Configure WordPress
Rename configuration file:
sudo mv wp-config-sample.php wp-config.phpEdit file:
sudo nano wp-config.phpUpdate database details:
define('DB_NAME', 'wordpress');
define('DB_USER', 'wpuser');
define('DB_PASSWORD', 'password123');
define('DB_HOST', 'localhost');
Save and exit.
10. Complete Installation via Browser
Now open your browser:
http://your-domain.comYou will see the WordPress setup page.
Fill in:
- Site title
- Admin username
- Password
Click Install WordPress and you’re done 🎉
11. Basic Security Setup After Installation
After installing WordPress on your VPS, it is very important to secure your server to prevent attacks and vulnerabilities.
Here are some basic security steps:
- Change default SSH port
- Disable root login (use sudo user instead)
- Install a firewall (UFW or CSF)
- Enable automatic security updates
- Use strong passwords for WordPress admin
Security is not optional—especially for VPS hosting where you have full control of the server.
12. Install a Firewall for Protection
A firewall helps block unwanted traffic and protects your server from malicious attacks.
You can install UFW (Uncomplicated Firewall) on Ubuntu:
sudo apt install ufw -y
sudo ufw allow OpenSSH
sudo ufw allow 'Apache Full'
sudo ufw enable
This adds an extra layer of protection to your VPS.
13. Install SSL Certificate (Important for SEO)
SSL is required for HTTPS and is important for both security and SEO ranking.
You can install free SSL using Let’s Encrypt:
- Improves Google ranking
- Secures user data
- Builds trust for visitors
Most VPS providers support easy SSL setup using Certbot.
14. Optimize WordPress for Better Performance
After installation, you should optimize your WordPress site for speed:
- Install caching plugin (LiteSpeed Cache / WP Super Cache)
- Optimize images before uploading
- Use CDN (Content Delivery Network)
- Keep plugins minimal
This helps your website load faster and improves SEO performance.
Final Thoughts
Installing WordPress on a VPS is one of the best choices if you want full control, better performance, and scalability for your website.
Unlike shared hosting, VPS gives you dedicated resources and flexibility to customize your server environment. However, it also requires responsibility in managing security, updates, and optimization.
If you manage it properly, VPS hosting can give your WordPress site enterprise-level performance at a reasonable cost.