The post Manual Uninstallation of Backup Client for Linux appeared first on ServerGigabit Network.
]]>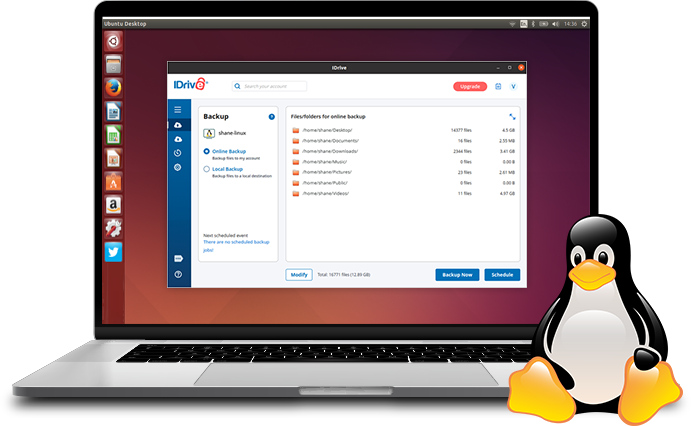
You can uninstall Acronis Backup Client by starting the installation package and selecting Install Backup Client and then Remove or by running /usr/lib/Acronis/BackupAndRecovery/uninstall/uninstall. Should this way not work, you can uninstall Backup Client manually for Linux.
Follow these steps to completely delete Backup Client from your system:
1. Remove all modules from dkms:
# dkms status
snapapi26, 0.7.46, 2.6.9-1.667, i686: installed
# dkms remove -m snapapi26 -v 0.7.46 –all
2. Remove all Acronis RPMs (ignore all messages about the non-presence of packages):
# su
# rpm -v –rebuilddb –define=”_rpmlock_path /var/lock/rpm”
# rpm -e –allmatches –nodeps AcronisAgentLinux
# rpm -e –allmatches –nodeps BackupAndRecoveryAgent
# rpm -e –allmatches –nodeps snapapi26_modules
# rpm -e –allmatches –nodeps snapapi_modules
# rpm -e –allmatches –nodeps dkms
3. Remove all files and folders related to Acronis software:
# rm -Rf /etc/Acronis
# rm -Rf /var/lib/Acronis
# rm -Rf /usr/lib/Acronis
# rm -Rf ~/.Acronis
# rm -Rf /usr/src/snapapi*
You can refer this Guide to Linux Server Backup Using Rclone and Object Storage if you are interested.
The post Manual Uninstallation of Backup Client for Linux appeared first on ServerGigabit Network.
]]>The post Create Backup Policy To Backup Your Server / VM / PC appeared first on ServerGigabit Network.
]]>
- Backup policy is defined as backup plan in Acronis.
- Each backup plan is associated with a server/vm/mobile device.
- Each backup plan associated define a backup container/disk safe of its own.
- By default, there is a default backup template which you may use to start a backup on the fly Or you can further define this backup plan to suit your needs.
- Backup plan can be deleted
- Backup plan can be revoked from a server/vm/device
To backup an entire machine, disks, files Or system state.
- In Backup Management Console, click Backup.
- A backup plan template is offered:
- Select the items you wish to backup:
- Entire machine – include MBR, bootable partition and other partitions (whole server)
- Disks – you may select which disks attached to a machine to be backup
- Files – select to backup only certain files.
- System state – applicable only to Windows Vista or later. It comprise of below:
- Task scheduler configuration
- VSS Metadata Store
- Performance counter configuration information
- MSSearch Service
- Background Intelligent Transfer Service (BITS)
- The registry
- Windows Management Instrumentation (WMI)
- Component Services Class registration database
- Select destination for your backup:– Cloud (to Exabytes Backup cloud)– Local folder on each machine with backup agent installed.– Network folder. Specify the path to the share
- Schedule a backups:You can specify the schedule on monthly/weekly/daily and hourly basis. You may select the schedule to run on specific time.
- How many retention points to keep. You may have multiple options. Either by age/number of backups or specify a single rule for all backups depend on your need.
- Click Apply.
- Give the plan a relevant name and save the plan.
- the plan is selected for your machine and will run on schedule.
If you need a guide to safeguarding your server data, you may refer this article.
The post Create Backup Policy To Backup Your Server / VM / PC appeared first on ServerGigabit Network.
]]>The post Installing Acronis Backup Cloud Windows / Linux / Mac Agents appeared first on ServerGigabit Network.
]]>Acronis Backup Cloud is web-based applications. To back up your data, you only need to install a Backup Agent on your machine. You can manage and monitor system protection with a web-based console.
Login with the backup account.
1. Having an active Backup Account you can install the software. Click Manage backups:
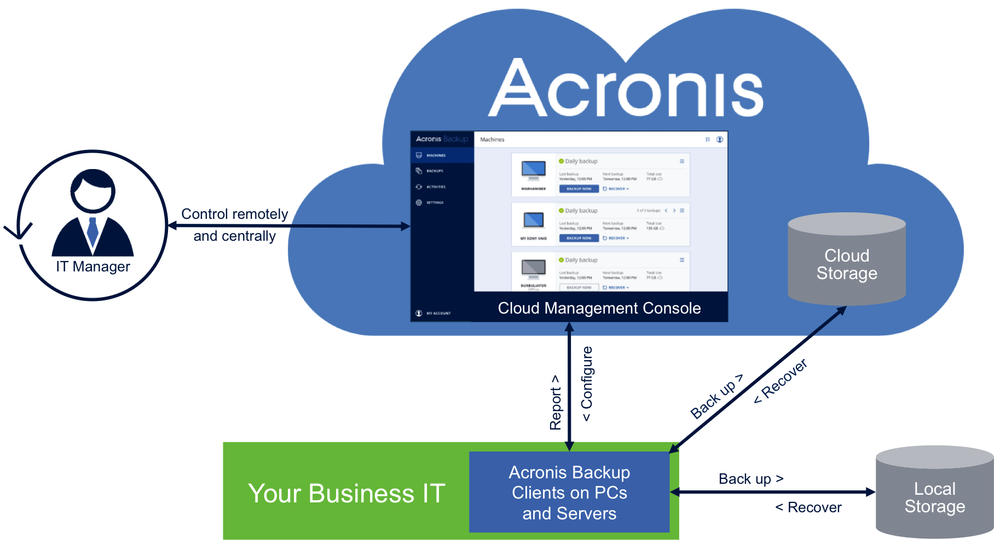
2. Click Add.
3. Depending on the machine and data you want to back up, select and download respective installation file:
- Run the installation file and select Install agents:
- Wait until the registration screen appears.
- Do one of the following:
- Click Register now. In the opened browser window, sign in to the backup console, review the registration details, and then click Confirm registration.
- Click Show Registration Info. The setup program shows the registration link and the registration code. You can copy them and perform the registration steps on a different machine. In this case, you will need to enter the registration code in the registration form. The registration code is valid for one hour.
- Alternatively, you can access the registration form by clicking All devices > Add, scrolling down to Registration via code, and then clicking Register.
- As a result, the machine will be assigned to the account that was used to log in to the backup console.
- Linux
- To add the Acronis Backup modules to Linux kernel, setup program needs the following Linux packages:
- Package for building kernel modules. Package version must match kernel version.
- GNU Compiler Collection (GCC) compiler system. GCC version must be the one with which the kernel was compiled.
- Make tool.
- The following table lists how to install the required packages in various Linux distributions.
For ubuntu, please run this # apt-get install rpm prior to the agent installation.
- Download the Linux 32/64Bit installer to local terminal.
- Use SCP/SFTP tools (login as root), upload to the server directory eg /root/installer/
- Chmod 755 the installer filename.bin
- ./filename.bin (to run the file)
- As the root user, run the installation file.
- Wait until the registration screen appears.
- Do one of the following:
- Click Register now. In the opened browser window (If your linux is having GUI based), sign in to the backup console, review the registration details, and then click Confirm registration.
- Click Show registration info. The setup program shows the registration link and the registration code. You can copy them and perform the registration steps on a different machine. In this case, you will need to enter the registration code in the registration form. The registration code is valid for one hour.
- Alternatively, you can access the registration form by clicking All devices > Add, scrolling down to Registration via code, and then clicking Register.
- Mac OS X (Prior To 10.14.1)
- Ensure that the Mac is connected to the Internet.
- Login to your backup console
- Click on the Add icon on the top right corner and click the Workstation – Mac icon.
- This will download the installer with name Backup_Agent_for_MAC_x64.dmg
- Double-click the installation file (.dmg).
- Wait while the operating system mounts the installation disk image.
- Double-click Install.
- If prompted, provide administrator credentials.
- Click Continue.
- Wait until the registration screen appears.
- Do one of the following:
- Click Register now. In the opened browser window, sign in to the backup console, review the registration details, and then click Confirm registration.
- Click Show registration info. The setup program shows the registration link and the registration code. You can copy them and perform the registration steps on a different machine. In this case, you will need to enter the registration code in the registration form. The registration code is valid for one hour.
- Alternatively, you can access the registration form by clicking All devices > Add, scrolling down to Registration via code, and then clicking Register.
- Mac OS X (Mojave 10.14.1)
- Follow the steps as of prior to 10.14.1 however there is 1 more addition steps that is to grant full disk access
- After the installation completed, in order to grant it, go to the ‘Utilities’ folder in Finder, click ‘Backup Agent Assistant’, and then follow the instructions from the app.
- Make sure that Backup agent will appear in the list as a result of this operation. Please see the attached screenshot below the reference
The post Installing Acronis Backup Cloud Windows / Linux / Mac Agents appeared first on ServerGigabit Network.
]]>The post Recovery of Physical Machines with the Backup Management Web Interface appeared first on ServerGigabit Network.
]]>
Recovery of physical machines (with backup management web interface)
- Select the backed-up machine.
- Click Recovery.
- Select a recovery point. If the machine is offline, the recovery points are not displayed. Besides that ,Do any of the following:
- However ,If the backup location is cloud or shared storage (i.e. other agents can access it), click Select machine, select a target machine that is online, and then select a recovery point.
- Select a recovery point on the Backups tab.
- Recover the machine
- Click Recover > Entire machine. The software automatically maps the disks from the backup to the disks of the target machine.
- To recover to another physical machine, click Target machine, and then select a target machine that is online.
- If the disk mapping fails, recover the machine. In other words ,The media enables you to choose disks for recovery and to map the disks manually.
- Click Start recovery.
- Confirm that you want to overwrite the disks with their backed-up versions. Choose whether to restart the machine automatically.
Please refer to the following article to know more.
Knowledge Base: Webspace Essentials: The Power of Web Hosting for Your Website
The post Recovery of Physical Machines with the Backup Management Web Interface appeared first on ServerGigabit Network.
]]>The post How to Restore Files appeared first on ServerGigabit Network.
]]>To recover files / folders :
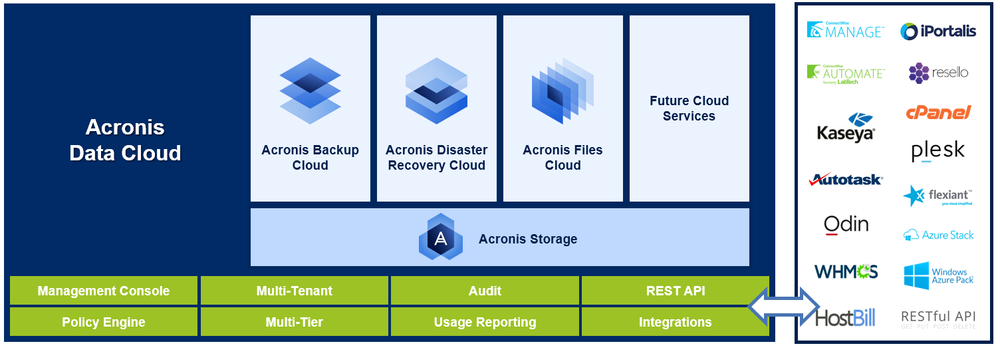
- Log in to Backup Management Console and click Recover:
- Select recover files
- Select files and click Recover. When perform recovering from the Cloud storage, select either to recover files or to download them in an archive:
- Select the location where you wish to recover or to download the files to:
The post How to Restore Files appeared first on ServerGigabit Network.
]]>The post Restore OS to A New Machine or A Machine appeared first on ServerGigabit Network.
]]>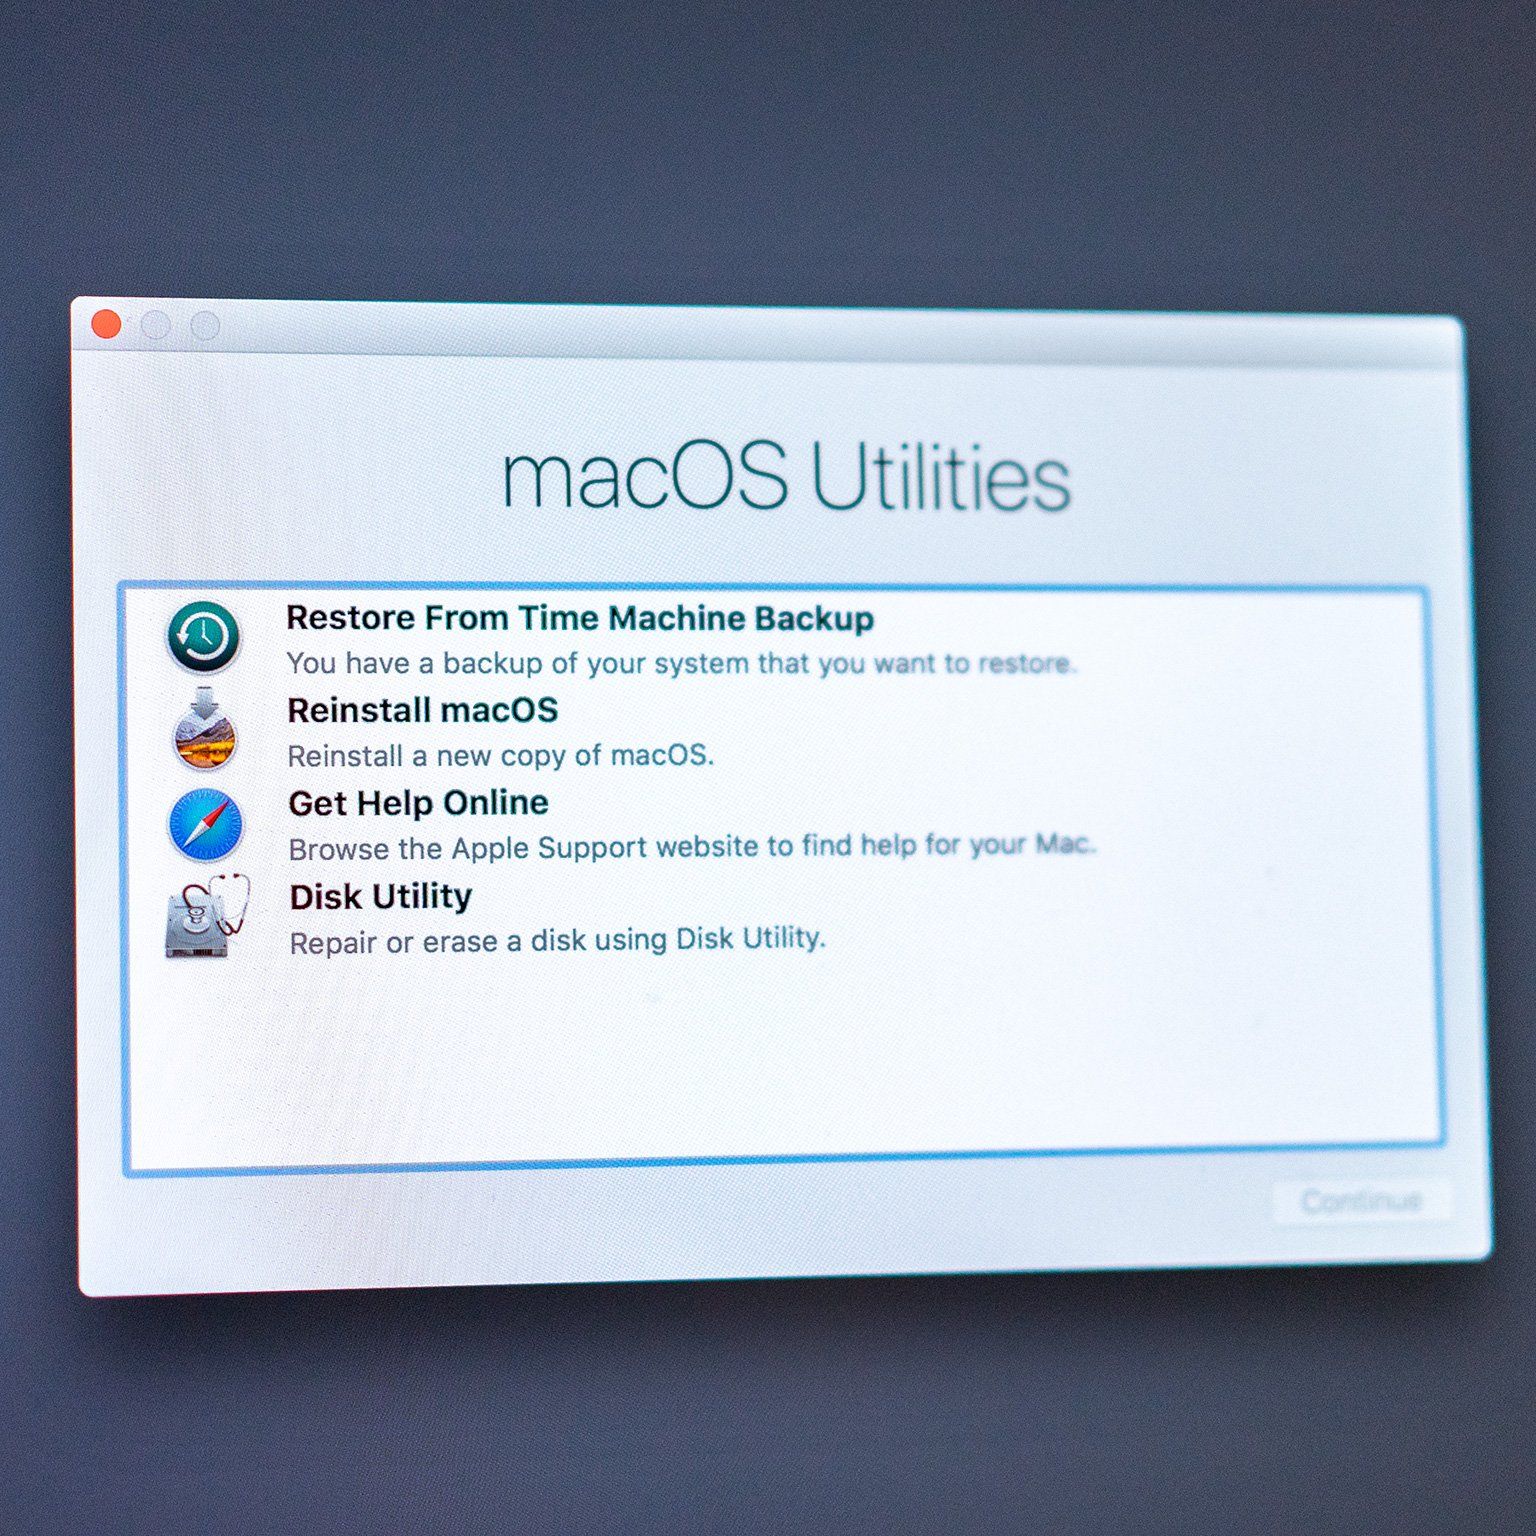
- Click Recover.
- Click More ways to recover.
- Click Download ISO Image.
- Burn the ISO to removable media (e.g. CD/DVD or USB flash drive).
- Boot up the target computer with the bootable media.
- Configure the network to allow the target computer accessible to internet
- Click Manage this machine locally.
- On the welcome screen click Recover.
- Click Select data and browse for Cloud storage by login with your backup account credential or locate the backups from local storage.
- Select backup and backup contents you wish to recover.
- Click Recover to and confirm destination for data to be recovered.
- Set up recovery options and enable Universal Restore when recovering to dissimilar hardware.
- Click OK to start recovery.
The post Restore OS to A New Machine or A Machine appeared first on ServerGigabit Network.
]]>The post Backup And Restore Windows Azure and Amazon EC2 appeared first on ServerGigabit Network.
]]>
Backup And Restore Windows Azure And Amazon EC2 virtual machine
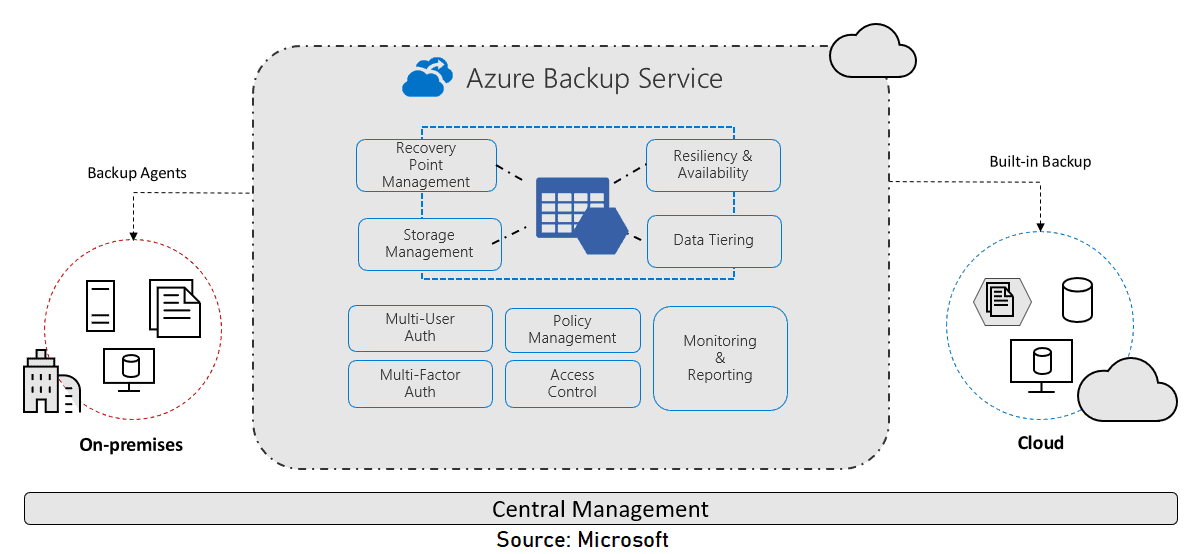
To back up a Windows Azure or Amazon EC2 virtual machine, install a backup agent on the machine. The backup and recovery operations are the same as with a physical machine. The machine is counted as virtual when you set quotas for the number of machines.
The difference from a physical machine is that Windows Azure and Amazon EC2 virtual machines cannot be booted from bootable media. If you need to recover to a new Windows Azure or Amazon EC2 virtual machine, follow the procedure below.
To recover a machine as a Windows Azure or Amazon EC2 virtual machine
- Create a new virtual machine from an image/template in Windows Azure or Amazon EC2. The new machine must have the same disk configuration as the machine that you want to recover.
- Install Agent for Windows or Agent for Linux on the new machine.
- Recover the backed-up machine. When configuring the recovery, select the new machine as the target machine.
The post Backup And Restore Windows Azure and Amazon EC2 appeared first on ServerGigabit Network.
]]>The post How to Turn Business Notifications On and Off appeared first on ServerGigabit Network.
]]>
Turn Business Notifications On and Off
- Business notifications are separate from backup status emails and are designed to be helpful for business operators and other responsible managers.
- Furthermore ,You can enable or disable for any given account in Acronis Backup Cloud. When enabled, will be sent to the specified e-mail address in the account.
- Besides that ,Business notification emails are comprised of the following notice types sent to the e-mail specified in the account and include:
- Quota management notifications (quota excess, overage excess etc.)
- Data center notifications (maintenance windows, software updates etc.)
- Monthly usage reports (generated automatically on the 2nd day of each month)
- In addition, To switch business notifications on or off:
- In the account management console, double-click the account for which you want to adjust notifications to open the Settings panel.
- The toggle switch for Business Notifications is found here in the account settings.
Please refer to the following article to know more.
Knowledge Base: How To Send Backup Status Notifications
The post How to Turn Business Notifications On and Off appeared first on ServerGigabit Network.
]]>The post How To Send Backup Status Notifications appeared first on ServerGigabit Network.
]]>Symptoms:
- Double-click the account for which you want to adjust notifications to open the Settings panel.
- Click the current email to edit it.
- Specify emails separated by semicolon. For example : [email protected] ; [email protected]

- Save changes.
- A confirmation email is sent to the newly specified address. Check your mailbox and click Change email in the confirmation.
Please refer to the following article to know more.
Knowledge Base: How To Send Backup Status Notifications
The post How To Send Backup Status Notifications appeared first on ServerGigabit Network.
]]>The post How to Delete Incomplete Backups appeared first on ServerGigabit Network.
]]>
Symptoms:
You start a backup plan for the first time. After the first backup has not completed (for any reason), you want to delete this incomplete archive, but cannot find it under Backups.
Or you realize, that the space used in Cloud is larger than your backups occupy:
Cause:
Incomplete backups are not displayed in Backup Management Console.
Solution
Incomplete backups can be deleted in Web Restore Console:
1. In Devices, select the machine you want to delete backups for.
2. Click Recovery:
3. Click More ways to recover:
4. Click Download files
5. Log in with your Acronis Backup Cloud account credentials.
6. Click Show incomplete backups:
The post How to Delete Incomplete Backups appeared first on ServerGigabit Network.
]]>